
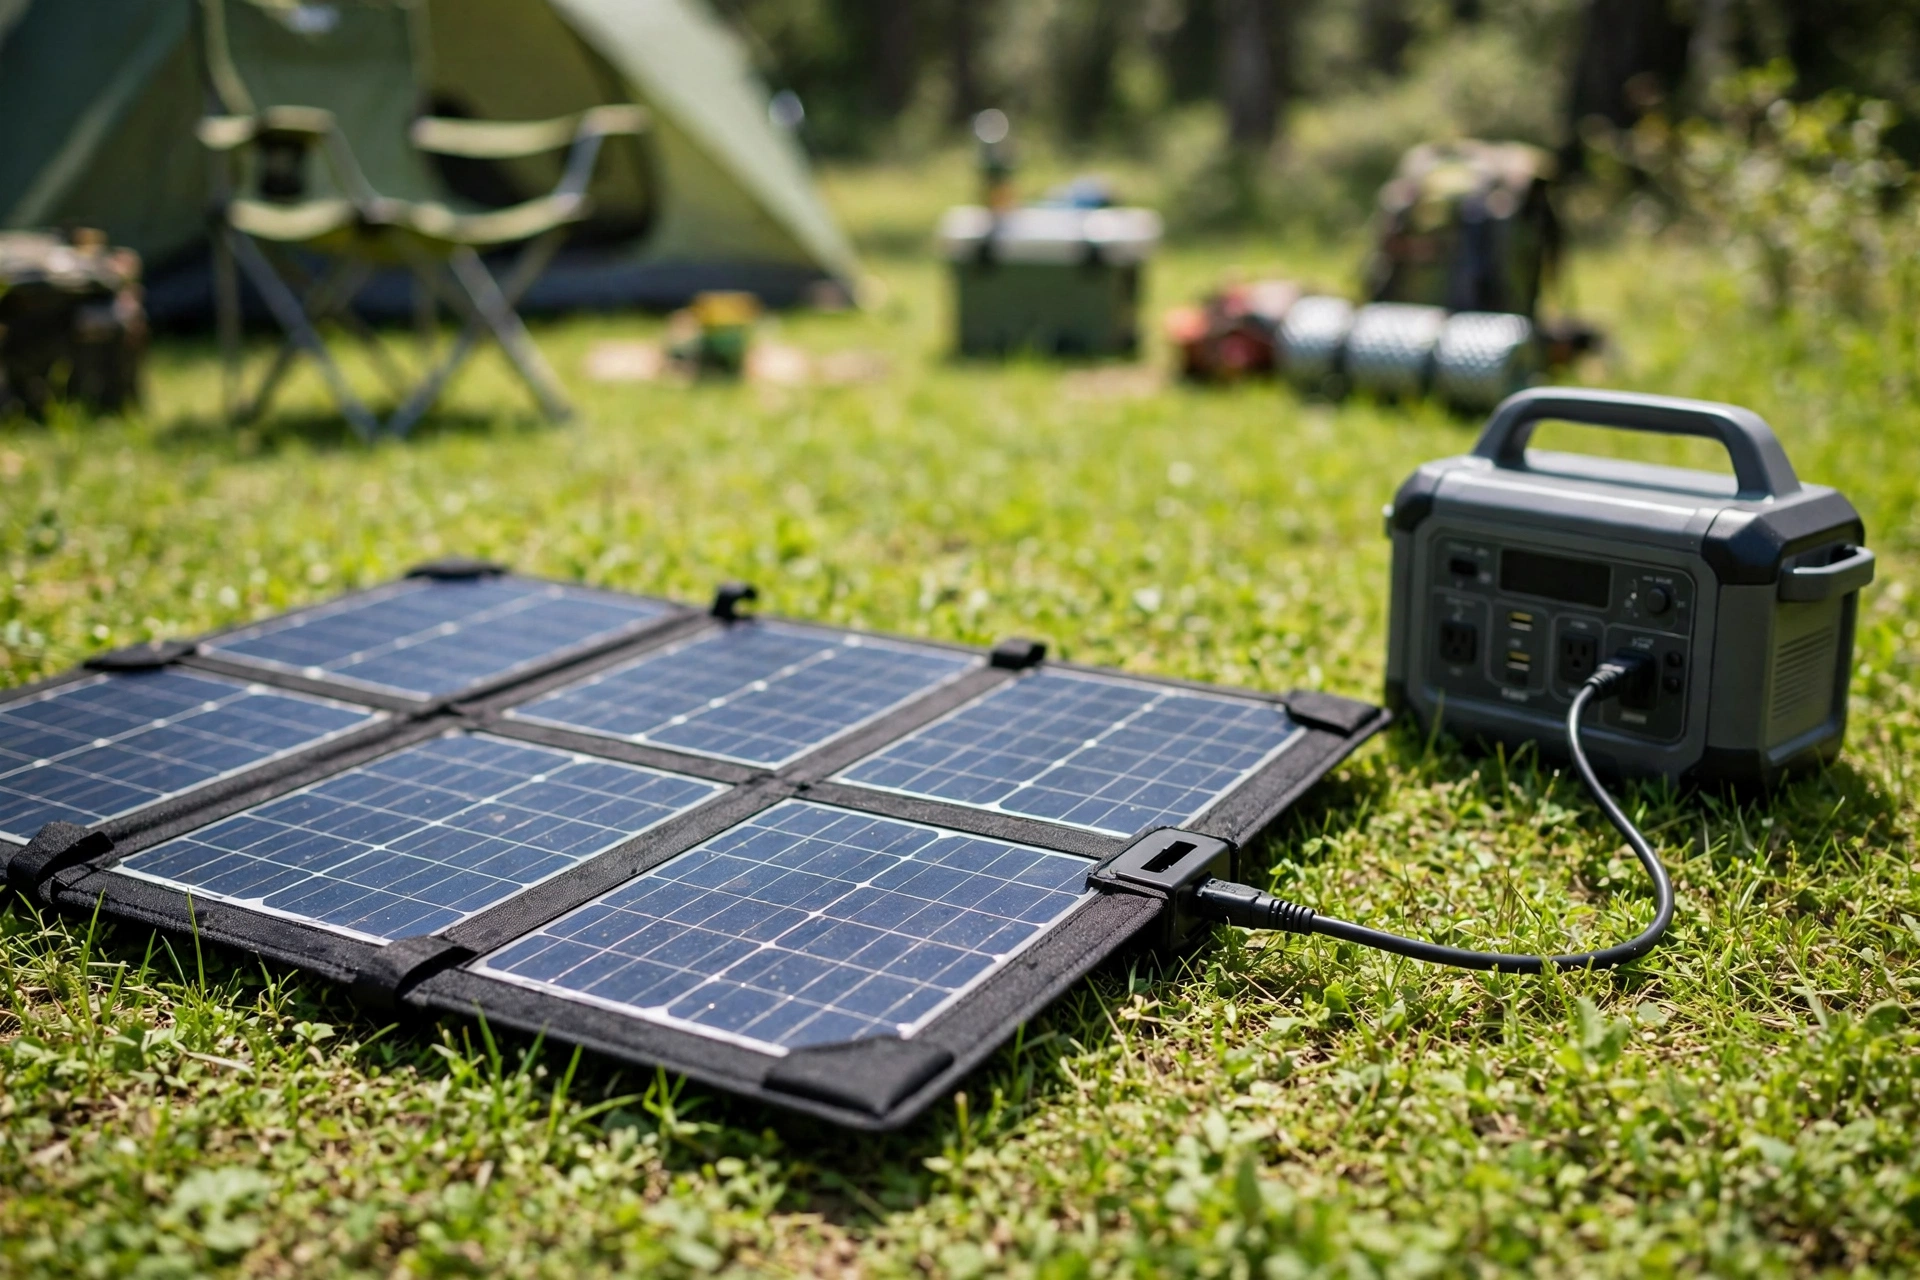
The short answer: plug the panel straight into the station’s solar input — no separate charge controller — after checking one number: the panel’s open-circuit voltage (Voc) must sit inside the station’s solar input voltage window. Get that right, size the panels to the battery, point them at the sun, and the station’s built-in MPPT controller does the rest. Everything below is about getting that one number right and avoiding the three mistakes that stop charging: wrong voltage, a bundled controller left in the path, and panels too small for the battery.
Disclosure: this guide is research, not hands-on testing — every figure below comes from published manufacturer specs and independent guides as of November 2026. There are no affiliate links on this page. See our disclosure for how the site is funded.
The mechanism: why no separate controller is needed
A bare solar setup needs a charge controller because a raw panel’s voltage swings with sunlight and temperature, and an unregulated panel will overcharge or damage a battery. A portable power station is not a bare battery: it is a battery, inverter, and charge controller in one box. Current models use an MPPT controller built into the solar input, which continuously tracks the panel’s maximum power point and converts panel power down to battery voltage — the same job our MPPT vs PWM guide describes, just inside the station instead of in a separate box.
That is why the wiring is so simple: panel → adapter cable → station solar input. It is also why a solar panel kit can mislead you. Kits sold for charging 12V batteries directly bundle their own charge controller, and that controller is built for battery duty. Put it between the panel and the power station and you have two controllers arguing over the same power — the station’s input may see the wrong voltage, or nothing at all. When charging a power station, leave the kit controller out of the path entirely and connect the panel’s MC4 leads to the station’s adapter cable instead.
One more mechanism point matters for sizing: the station’s solar input has three limits — voltage, current, and watts — and they interact. Voltage is a hard ceiling: exceed it and you risk damage or an overvoltage shutdown. Current and watts are soft ceilings: most stations simply clip whatever is above them. A 400W panel on a 200W-input station charges at 200W, not 400W, and no faster. Oversizing panels slightly (for cloudy mornings and angled sun) is sensible; oversizing far past the watt limit wastes money.
Step 1: find your station’s solar input limits
The numbers live in the specs section of your station’s manual or product page, usually under “solar charging input” or “DC input.” Write down all three:
| Limit | What it means | Where to find it |
|---|---|---|
| Input voltage window | The panel voltage range the station accepts (e.g. 11–60V) | Spec sheet, “solar charging” row |
| Maximum current | The most amps the input will use (e.g. 15A) | Same row, or the manual’s solar section |
| Maximum watts | The most solar power the station accepts (e.g. 500W) | Same row |
Published examples show how wide the range is — and why you must check your own model, not assume:
| Station | Solar input (published specs) |
|---|---|
| EcoFlow DELTA 2 (1,024Wh) | 11–60V, 15A, 500W max |
| EcoFlow DELTA 2 Max (2,048Wh) | 11–60V, 15A per port, 500W single / 1,000W dual port |
| EcoFlow DELTA Pro (3,600Wh) | 11–150V, 15A, 1,600W max |
| Jackery Explorer 300D (small station) | DC input window 16–28V |
| Bluetti EB70 (716Wh) | 12–28V, 8A, 200W max |
Two patterns jump out. Small stations have narrow, low windows — a single high-voltage rigid panel can exceed a 28V ceiling, so small stations pair best with folding panels designed for them. Large stations accept wide voltage ranges and high wattage, which is what makes them viable for home backup: the DELTA Pro’s 150V ceiling takes series strings that a small station never could. If your station’s window is not printed on the unit, the manual’s solar section is the authoritative source; retailer listings sometimes copy the wrong model’s figures.
Step 2: match the panel to the window
Find the panel’s open-circuit voltage, Voc, on its label or datasheet — not its nominal voltage (“12V panel”) and not its maximum-power voltage (Vmp). Voc is what the panel produces with nothing regulating it, which is what the station’s input sees the moment you plug in. The rule:
Panel Voc (or the sum of Voc for panels wired in series) must stay below the top of the station’s voltage window, with margin for cold mornings.
Panel voltage rises as temperature falls, roughly 0.3–0.4% per degree below 25°C. A string reading 58V on a warm afternoon can exceed 60V on a freezing morning and trip the station’s protection — or worse. Keep at least 10% headroom under the ceiling for any setup that will see cold weather: on a 60V-max input, keep series Voc at or below about 54V.
Also check the bottom of the window. A panel whose Voc sits below the station’s minimum input voltage will not start charging at all — this is the usual cause of “panel connected, 0W input” on small stations with low-voltage panels in weak sun. If one panel is too low, wiring two in series doubles the voltage into the window (and is the standard fix for 12V-style panels on stations with a 10A current cap, where parallel wiring cannot deliver the watts).
Connectors are the other half of matching. Most rigid and high-wattage folding panels terminate in MC4 connectors; stations take XT60, Anderson, or a DC barrel (DC7909/DC8020) port. Buy the MC4 adapter cable for your station’s port before the panels arrive — it is the cheapest part of the setup and the most common reason a first solar charge fails. Our portable solar panel guide covers panel types and what each ships with.
Step 3: wire one panel, or several
One panel: connect its MC4 leads to the adapter cable, plug into the station’s solar input, and check the display shows input watts. That is the whole procedure. Angle the panel toward the sun — perpendicular to the sun’s rays, not flat on the ground at midday in winter — and keep it fully unshaded: even a small shadow across one cell string can collapse a panel’s output far out of proportion to the shaded area.
Multiple panels, series: connect positive to negative in a chain. Voltages add, current stays the same. Series is the right choice when the station’s current limit is the bottleneck (a 10A cap, for example), when panels are far from the station (higher voltage means lower current and thinner cable for the same watts), or when a single panel’s voltage sits near the bottom of the window. The cost: one shaded panel drags the whole string down, and total Voc must stay under the ceiling with cold-weather margin.
Multiple panels, parallel: connect positives together and negatives together with a Y branch connector. Currents add, voltage stays the same. Parallel is the right choice when series Voc would exceed the ceiling, or when panels face different directions or shade at different times (common on an RV roof or a campsite where one panel catches morning sun and another afternoon sun). The cost: higher current needs thicker cable, and the station’s amp cap may clip the total.
A worked example: two 200W folding panels, each Voc 21.5V, on a station with a 60V, 15A, 500W input. In series: 43V, well under 60V even on a cold morning, and the station can take the full 400W. In parallel: 21.5V at up to about 18A, clipped to 15A — still fine, but the current cap wastes a little. On a small station with a 28V ceiling, the same two panels in series (43V) would exceed the limit and must go in parallel instead. Same panels, opposite answer — the station’s window decides.
Step 4: size the panels to the battery
Panel watts decide how long a full solar charge takes. The honest formula, accounting for real-world losses (angle, heat, cable, controller efficiency):
Days to full charge ≈ battery Wh ÷ (panel watts × peak sun hours × 0.75)
Peak sun hours are not daylight hours: they are the equivalent hours of full-strength sun, typically 3–5 in most of the US and Australia, fewer in winter and cloudy climates. Use 4 as a planning figure and your own location’s winter figure if the setup must work year-round.
| Station size | 200W panels, 4 sun hours | 400W panels, 4 sun hours |
|---|---|---|
| ≈300Wh (weekend camping) | ≈0.5 day | ≈0.25 day |
| ≈1,000Wh (RV / home backup core) | ≈1.7 days | ≈0.8 day |
| ≈2,000Wh (serious home backup) | ≈3.3 days | ≈1.7 days |
Read the table as a planning tool, not a promise: a station that must recharge daily needs panel watts at least equal to its daily consumption divided by (sun hours × 0.75). For a camper running a 12V fridge at roughly 500Wh per day, that means at least about 170W of panels in 4 sun hours — and a station whose solar input caps at 100W can never keep up with that fridge on solar alone, whatever panel you attach. That input cap, not the panel, is the real limit on many small stations, and it is worth checking before buying either half of the pair. Our under-$300 power station roundup and RV solar kit guide both flag input limits alongside capacity for exactly this reason.
Step 5: place the panels and read the display
Placement is where most solar charging underperforms, and it is entirely fixable:
- Face true sun, not just “outside.” Tilt the panel so the sun hits it squarely; a panel flat on the ground at a low winter sun angle can lose half its output. Re-aim every couple of hours on a campsite, or accept the loss and oversize the array.
- Zero shade, all day. A panel partially shaded by a tent pole, a tree branch, or an RV roof vent loses far more than the shaded fraction. Walk the panel’s shadow path before committing to a spot.
- Keep the cable short. Long DC cable runs lose voltage; keep the panel-to-station cable under about 20 feet where possible, and use thicker cable for parallel arrays at high current.
- Watch the station’s display, not the panel’s label. Input watts in full sun should reach roughly 70–85% of the panel’s rated watts. If it sits far below that, re-aim first, then check shade, then check connections — in that order.
For RV and off-grid setups where panels stay mounted, the same rules apply at install time: roof panels wired in series to a station with a wide input window (like the DELTA Pro class) keep cable losses low and charging strong, while a station with a narrow window needs parallel wiring and careful Voc accounting. Our off-grid solar system guide covers the fixed-install side in full.
Troubleshooting: when solar charging stalls
| Symptom | Most likely cause | Fix |
|---|---|---|
| 0W input, panel in full sun | Panel Voc outside the station’s window, or wrong/faulty adapter cable | Check Voc against the window (both ends); swap the adapter cable |
| Input watts far below panel rating | Shade, poor angle, or heat | Re-aim, clear shade, accept ≈20–30% real-world loss from the label figure |
| Charging starts, then stops | Series Voc exceeding the ceiling on a cold morning, or a loose MC4 connection | Rewire in parallel or drop a panel from the string; reseat all MC4 connectors until they click |
| Battery percentage stalls while a load runs | Solar input is feeding the load first; only surplus charges | Reduce the load, add panels, or charge with loads off |
| Slow charging in cold weather | Battery management limiting charge current at low temperature | Warm the station toward room temperature before charging; this is protection, not a fault |
| Station shows an overvoltage warning | Series Voc above the input ceiling | Disconnect immediately, rewire in parallel, and recheck Voc with cold-weather margin |
The bottom line for camping, RV, and off-grid charging
Match voltage first, size watts second, and let the station’s built-in MPPT controller handle the rest. Check the panel’s Voc against your station’s input window with cold-weather headroom, wire in series to beat a current cap or in parallel to stay under a voltage ceiling, size panels so daily solar harvest (panel watts × sun hours × 0.75) covers what you actually use, and leave any kit-bundled battery controller out of the path. Done that way, a portable power station becomes what it promises on a campsite or an RV: a battery you can refill from the sun, day after day, without a wall outlet anywhere in sight.